Step 1: start computer and enter CMOS of your computer, set first boot is CD-ROM. insert Ubuntu install disk to you CD-ROM and exit CMOS setup.
the computer will start with ubuntu live cd so u can use the Ubuntu operating system without install it ;).
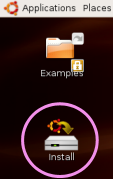
Step 2: when you are using Ubuntu live. you will see the icon "Install Ubuntu for your computer" click to it and start to install Ubuntu.
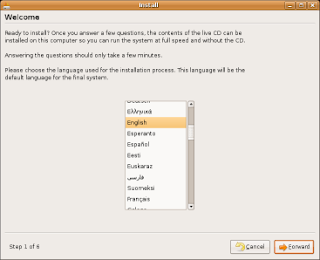
Select your language and click Forward to continue
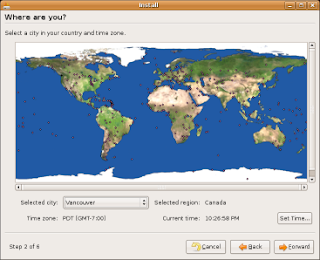
 Select your location/Time Zone and make sure that the time is set correctly. Click Forward when all the settings are correct.
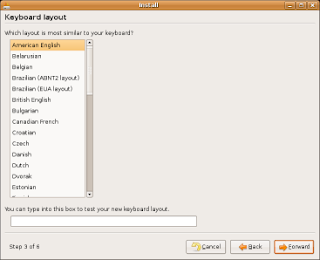
 Select American English (a future tutorial will help you customize your Apple keyboard in Ubuntu) and then click Forward
- Enter the required information in each field. Remember that both the user name and password are case sensitive - so “username” and “Username” are not the same. Click Forward to continue.
- Select Erase entire disk: IDE1 master (hda) - size Virtual HDD (0) and then click Forward. Again, don’t worry, this is not deleting anything on your hard drive. It’s using up the space you assigned to Ubuntu when you set up Parallels.
- Review everything on the last screen. If you need to make changes, use the Back button. When you’re ready to install, click Install.
- Grab a cup of coffee. This doesn’t take too long, but it’s not fascinating enough to watch that attentively.
- When the installation has completed, you’ll be prompted to either restart or continue using the live CD. Because we need to completely power off Ubuntu (rather than restart), select Continue using the live CD.
- Now shut down Ubuntu

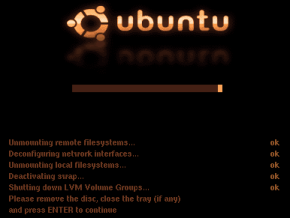
- If Ubuntu doesn’t completely “turn off”, use the Power Off button in Parallels.
- Click Yes if prompted
- Now that Ubuntu is installed, you’ll want to change the CD/DVD-ROM setting to no longer point to the .iso file. In Parallels, select CD/DVD-ROM 1. Choose Use CD/DVD-ROM from the Emulation window and click OK. The next time you start Ubuntu, you’ll have full use of your CD or DVD-ROM.

Ubuntu is very good at automatically detecting your Internet connection from OS X, whether it’s via Airport (wireless) or Ethernet (wired). If by chance you’re not online, check the following settings.
- Click System and scroll down to Administration. From the Administration down-down menu, select Networking.
- Enter your password
- Make sure that Ethernet connection is active. Also, make sure eth0 is selected from the Default gateway device: pull-down menu.
- Try surfing the Internet now and see if that’s all it took to fix the problem. If not, open a Terminal by selecting Applications, then Utilities and finally Terminal. Type the command ifconfig and then hit enter. In the eth0 section, look for an inet addr:. It will likely be something similar to 192.168.0.101. Whatever it is, write down the number.
- Open the Network utility again, highlight the Ethernet entry and then select the DNS tab. Click Add from the DNS Servers section. Then enter the first 3 (three) ’sets’ of numbers, and replace the last set with a 1 (one). For example, if the number you wrote down was 192.168.0.101, enter 192.168.0.1
Hit Enter on your keyboard to save the DNS server, and then click OK.
- Once again, try to surf the Internet. If you’re still not connected, try looking for help at the Ubuntu community. Or, leave a message below and I’ll see if I can help. Because you’re using Parallels, you can return to OS X and research the problem there, without having to reboot over and over again.


2 comments:
Hi there. I don't mind that you copied a lot of this from my blog (simplehelp.net) but I would appreciate if you didn't hotlink to my images (http://altlab.com/hotlinking.html)
It would also be nice if you gave me credit/linked back to my site as the main resource for your tutorial.
Cheers,
Ross
Thanks very much :) I am sorry, final thanks :)
Post a Comment